
The RCR Pro Van Rysel combines three promises rarely found at this price point into a single frame: aerodynamics, lightness, and stiffness. However, simply taking the bike out of the box is not enough to harness this potential. The torque on the carbon parts, tire pressure, and choice of cockpit directly affect the actual performance on the road.
Cockpit and Position on the RCR Pro: The Parameter That Tests Overlook
Most guides focus on saddle height and setback. On the RCR Pro, the cockpit plays at least as crucial a role. Field feedback shows a measurable aerodynamic difference between the available cockpit versions, and this parameter is often underestimated during the initial setup.
See also : The Latest Health Advances to Better Care for Your Well-Being
The integrated handlebar that comes with the bike imposes a fairly aggressive position. For cyclists whose torso is longer or shorter than average, adjusting the stem or opting for a compatible cockpit (Deda on the most aerodynamic versions, for example) allows for a compromise between air penetration and comfort on long rides.
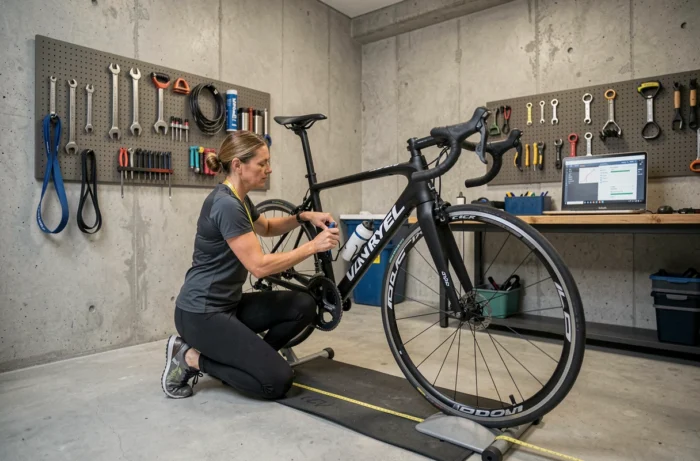
One point to check before any modifications: the handlebar tightening requires a torque of 5 N.m in a cross pattern, with equal spacing at the top and bottom once the screw is tightened. Exceeding this torque weakens the carbon, while staying below it allows the handlebar to slip under pressure. A dedicated torque wrench is not a luxury; it is a necessity for this type of frame.
Further reading : How to Optimize Your Business Performance with Custom IT Solutions
Finding the optimal adjustment for the RCR Pro Van Rysel starts with this work on position, well before touching peripheral components.
Tire Pressure and Tubeless Choice on the RCR Pro Van Rysel
The RCR Pro comes with Swiss Side carbon wheels, tubeless compatible. This detail changes the game for pressure adjustment, as a tubeless setup allows for significantly lower pressures than with traditional inner tubes, without the risk of pinch flats.
Field feedback varies on the ideal pressure depending on the cyclist’s size and the surface. However, there is a consensus on one principle: lowering the pressure improves grip and comfort without noticeably penalizing speed on normal roads. Tires mounted in a wide section (around 28 mm, as seen on some prototypes in races) further enhance this effect.
Criteria to Consider for Adjusting Pressure
- The total weight of the equipped cyclist: a lighter build can go significantly lower than a heavier build without deforming the tire in corners
- The type of ride planned: on smooth roads, low pressure maximizes performance, while on rough surfaces, it absorbs vibrations that fatigue the arms and back
- The choice between tubeless or inner tube: with tubeless, the risk of pinch flatting disappears, allowing for pressures that one wouldn’t dare with a tube
Switching to tubeless on the Swiss Side wheels of the RCR Pro is one of the most cost-effective adjustments in terms of combined comfort and performance gains.
Carbon Seatpost and Seat Tube: A Sensitive Adjustment Area
The RCR Pro frame uses a carbon seat tube that requires special care. The manufacturer’s instructions emphasize applying carbon grease on the seat tube before insertion. Without this grease, the post may slip under repeated efforts, even with correct tightening.
The torque on the seatpost is critical. Too tight, the carbon can crack invisibly (the crack may appear weeks later during a violent effort). Too loose, the saddle gradually descends during the ride, ruining the position and pedaling.
Carbon grease is provided in the delivery box. If it has been misplaced or used on another bike, it must be replaced with a specific product (no regular grease, which can damage certain composites).
Checkpoints Before Every Long Ride
- Ensure that the seatpost does not rotate by hand once tightened: if it moves, re-tighten to the recommended torque
- Visually inspect the insertion area for any signs of abnormal friction or black grease residue (a sign of wear)
- Never place the jaws of a work stand on the top tube of the frame, as this could weaken the structure
Integrated INPEAK Power Sensor: Leveraging Data to Fine-Tune Setup
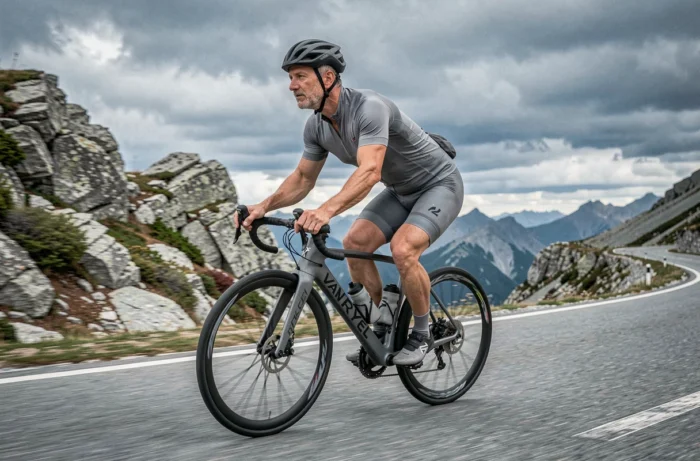
The RCR Pro includes a factory-installed INPEAK power sensor, a piece of equipment that costs several hundred euros as an option with most competitors. This sensor is not only used to display watts during effort: it allows for objective validation of every adjustment made.
Changing the cockpit position, altering tire pressure, or adjusting saddle height produces measurable effects on the power output at a constant perceived effort. By comparing power data on the same course before and after a change, the cyclist can confirm or refute the benefit of an adjustment without relying solely on feel.
This data-driven approach is particularly useful for deciding between an aggressive position (more aerodynamic but potentially less sustainable over time) and a slightly raised position. The average power over a two-hour ride often reveals that a position that is too low costs more than it gains for cyclists who do not ride in a protected peloton.
Adjusting the RCR Pro Van Rysel is not just about following a standard sizing chart. It is an iterative process where the cockpit, tire pressure, carbon part tightening, and utilization of the power sensor work together. Each parameter adjusted alone yields modest gains, but the accumulation of these fine adjustments transforms the overall behavior of the bike on the road.